Providing Service Beyond Expectations

How to remove a radiator

Tools Required:

Pozi screwdriver, two adjustable spanners, a bleed key, a rag and a bowl

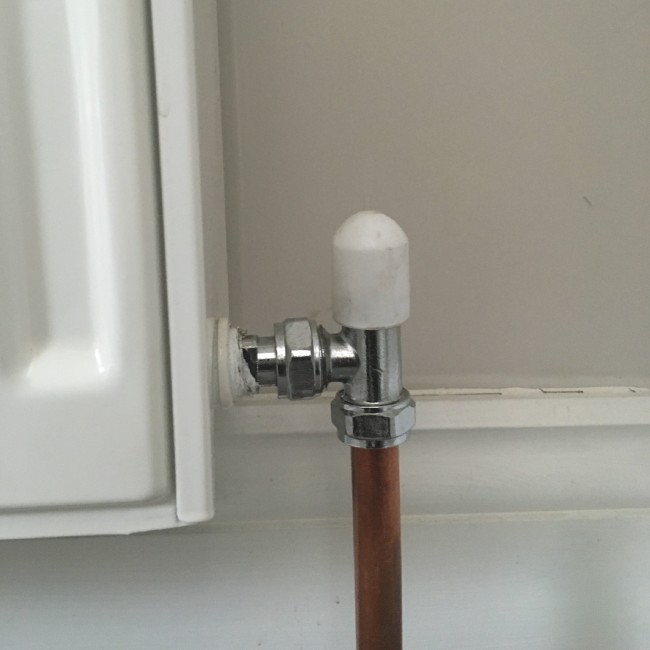
Start off by isolating your radiator. To do this turn each radiator valve clockwise until it stops. If the valve has a lockshield cap on it you need to remove this to expose the spindle. Use the adjustable spanners to turn this.

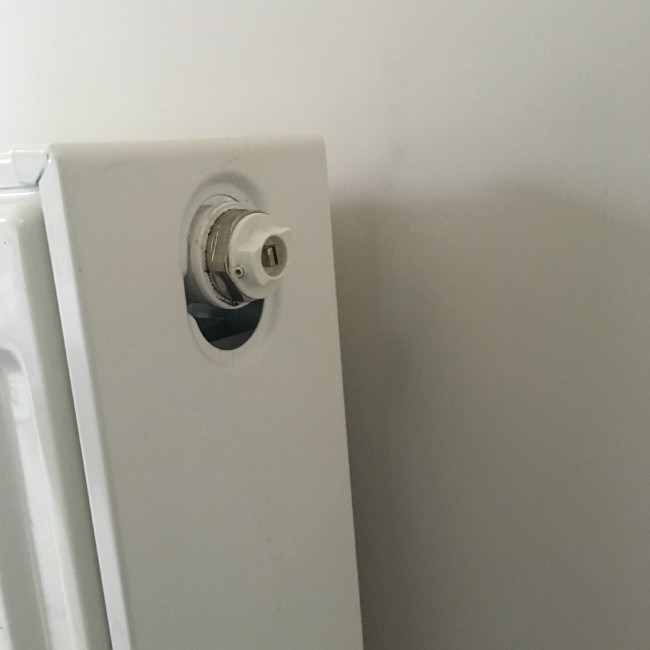
Using the bleed key open the bleed nipple holding the rag over the nipple, you should get a little spray of water which should stop after a couple of seconds, this confirms that the radiator valves have closed off fully and are in working order.

If the water keeps running you may have not closed the valve fully or the valve is faulty, in this case call in a professional.

Next place the bowl under the valve you are going to loosen, take the two adjustable spanners, loosen the nuts on the radiator, making sure to hold the body of the valve with one of the adjustable spanners, allow the water to run into the bowl.

Tip:

Make sure to loosen the nut and not take it off as when the bowl fills you may need to tighten the nut to stop the flow of water to then allow you to empty the bowl.

Once you are satisfied the water has drained from the radiator take off the nuts on both radiator valves and simply lift the radiator off its brackets

Job done!