

Replacing a ball valve might sound tricky, but it’s actually a task many people can handle with a bit of guidance. A ball valve is a type of valve used to control the flow of water in your pipes. If your ball valve is leaking or not working properly, it’s crucial to replace it to prevent more significant problems. You can either hire bathroom fitters in Sheffield to replace a valve. It is estimated that the UK plumbers’ merchants market will be worth £6.22 billion in 2024, showing a remarkable 2% increase from 2023. It is clear that plumbers are in great demand in the UK for multiple concerns. But you can also replace a ball valve on your own by following simple instructions. This blog will discuss how to replace a ball valve.
What is a Ball Valve?
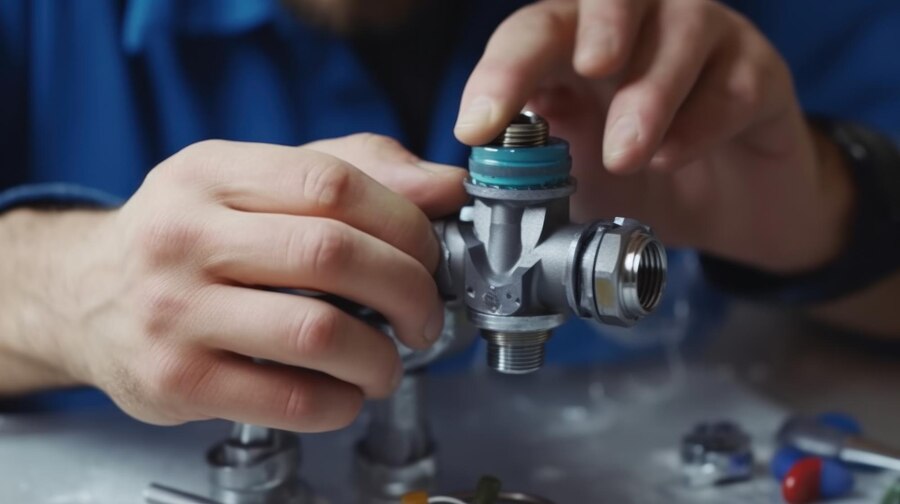
A ball valve controls the water flow by means of a ball with a hole in it. When the valve is open, water can pass through because the hole is aligned with the pipe. The ball turns to obstruct the hole when the valve is closed, which stops the flow of water. Ball valves are used in many places in your home, like under the sink or in the water tank.
Tools You’ll Need
Before you start, make sure you have the right tools. You will need:
- An adjustable wrench
- A pipe wrench
- Plumber’s tape (Teflon tape)
- A new ball valve that matches the size of the old one
- A bucket or towels (to catch any water that may spill)
- A screwdriver (if needed)
Having these tools ready will make the job easier and faster.
Step 1: Turn Off the Water Supply
The first thing you need to do is turn off the water supply. This stops water from flowing while you work on the valve. If the ball valve is under a sink, look for the shut-off valve near that area. For valves connected to the main water supply, you may need to turn off the water to your whole house.
After turning off the water, open the faucet or fixture that’s connected to the valve to let out any leftover water. When the old valve is removed, this will help to avoid spills.
Step 2: Remove the Old Ball Valve
Now that the water is off, you can remove the old ball valve. The nuts or bolts holding the valve to the pipes can be loosened with the adjustable wrench. If the valve is stuck, you might need to use a pipe wrench to get more grip.
Once the nuts are loose, carefully pull the old ball valve away from the pipes. Be prepared for some water to come out, so have your bucket or towels ready. If the valve is stuck with soldered pipes, it’s best to call a professional, like the bathroom fitters in Sheffield, who can handle it safely.
Step 3: Prepare the Pipes
After removing the old valve, check the pipes for damage. Clean the threads on the pipes with a wire brush to ensure the new valve fits properly. This step helps prevent leaks when you install the new valve.
Wrap the threads of the pipes with the plumber’s tape. This tape helps make a tight seal when you screw on the new valve. Wrap the tape in the direction that you’ll be turning the valve to avoid unwinding it while you work.
Step 4: Install the New Ball Valve
Next, you’ll install the new ball valve. Place it between the pipes and make sure it’s aligned correctly. The valve’s handle should be positioned so it can easily open and close.
To secure the valve in place, use your adjustable wrench to tighten the nuts or bolts. Be sure to avoid overtightening, as this could damage the pipes or the valve itself. If you’re not confident about installing it correctly, consider asking a professional like bathroom fitters Sheffield for help.
Step 5: Turn the Water Supply Back On
After installing the new ball valve, slowly turn the water supply back on. Oversee the valve as the water starts flowing. Look for any leaks around the connections. If you see any drips, turn the water off again and try tightening the connections or adding more plumber’s tape.
Once you’re sure there are no leaks, your new ball valve is ready to go!
Tips for Replacing a Ball Valve
- Choose the Right Valve: Make sure you get the correct size and type of ball valve for your needs. If you’re not sure, the experts at bathroom fitters Sheffield can help you pick the right one.
- Take Your Time: Don’t rush through the process. Observe every step carefully to avoid mistakes that could lead to leaks or other problems.
- Use Quality Materials: Use good-quality plumber’s tape and a solid valve. Cheaper materials might save you money now but could cause issues later.
- Know When to Call a Professional: If you run into trouble or are unsure about any part of the process, it’s best to call a professional. The bathroom fitters at Sheffield Plumbing Network are skilled and can help ensure the job is done right.
Why Choose Plumbing Network?
If you prefer to avoid handling this job yourself, Plumbing Network can help. They have a team of qualified plumbers in Sheffield who can replace your ball valve quickly and correctly. Their skilled team is experienced in handling all kinds of plumbing tasks and will make sure your home’s plumbing is in top shape.
Plumbing Network offers a fast response time, aiming to be at your home within an hour of your call. Their plumbers are fully qualified, and Gas Safe registered, so you can trust them to get the job done safely and professionally.
Conclusion
Replacing a ball valve doesn’t have to be difficult. By following these steps, you can replace a ball valve yourself and save money. However, if you’re not comfortable doing it on your own or if you face any issues, don’t hesitate to call Plumbing Network. Their expert bathroom fitters Sheffield team is ready to help with any plumbing problem, big or small.
With the right approach and tools, you can handle this plumbing task and ensure your home’s water system runs smoothly.

Leave a Reply